
Web hosting is one of the necessary things which many of us need if we are a web developer or blogger or just trying/ experimenting with your application over the web.
Web hosting is expensive. And it’s not always possible to buy one if we are just experimenting things out.
So here in this post, I’m telling you about a way with which you can have one year of web hosting absolutely free of cost. This free hosting of 1 year is provided by Amazon web services(AWS), which is the leading cloud computing service providing company.
Below are features of the free hosting plan which we are discussing:
- Bandwidth transfer up to 15GB per month
- 5GB bucket storage for a year
- Database services support – RDS
- 100% uptime
- Load balancers and auto scalers for excessive loads
- Awesome technical support – 24*7
- Support all types of system or framework – WordPress, Django, node, etc
Setup process
For successfully setting up your web hosting, you must have some knowledge of Linux systems. They all provide plain Linux based machines that you can use for web hosting. But, don’t worry if you don’t know how to use Linux based machines, we can help you with that. You can write to us through our contact us page. We may or may not take a little service charge for it depending on your use case.
In this article to have provided the steps to set up a WordPress blog. These steps may change for the installation of any other system. So, let’s dive into the steps:
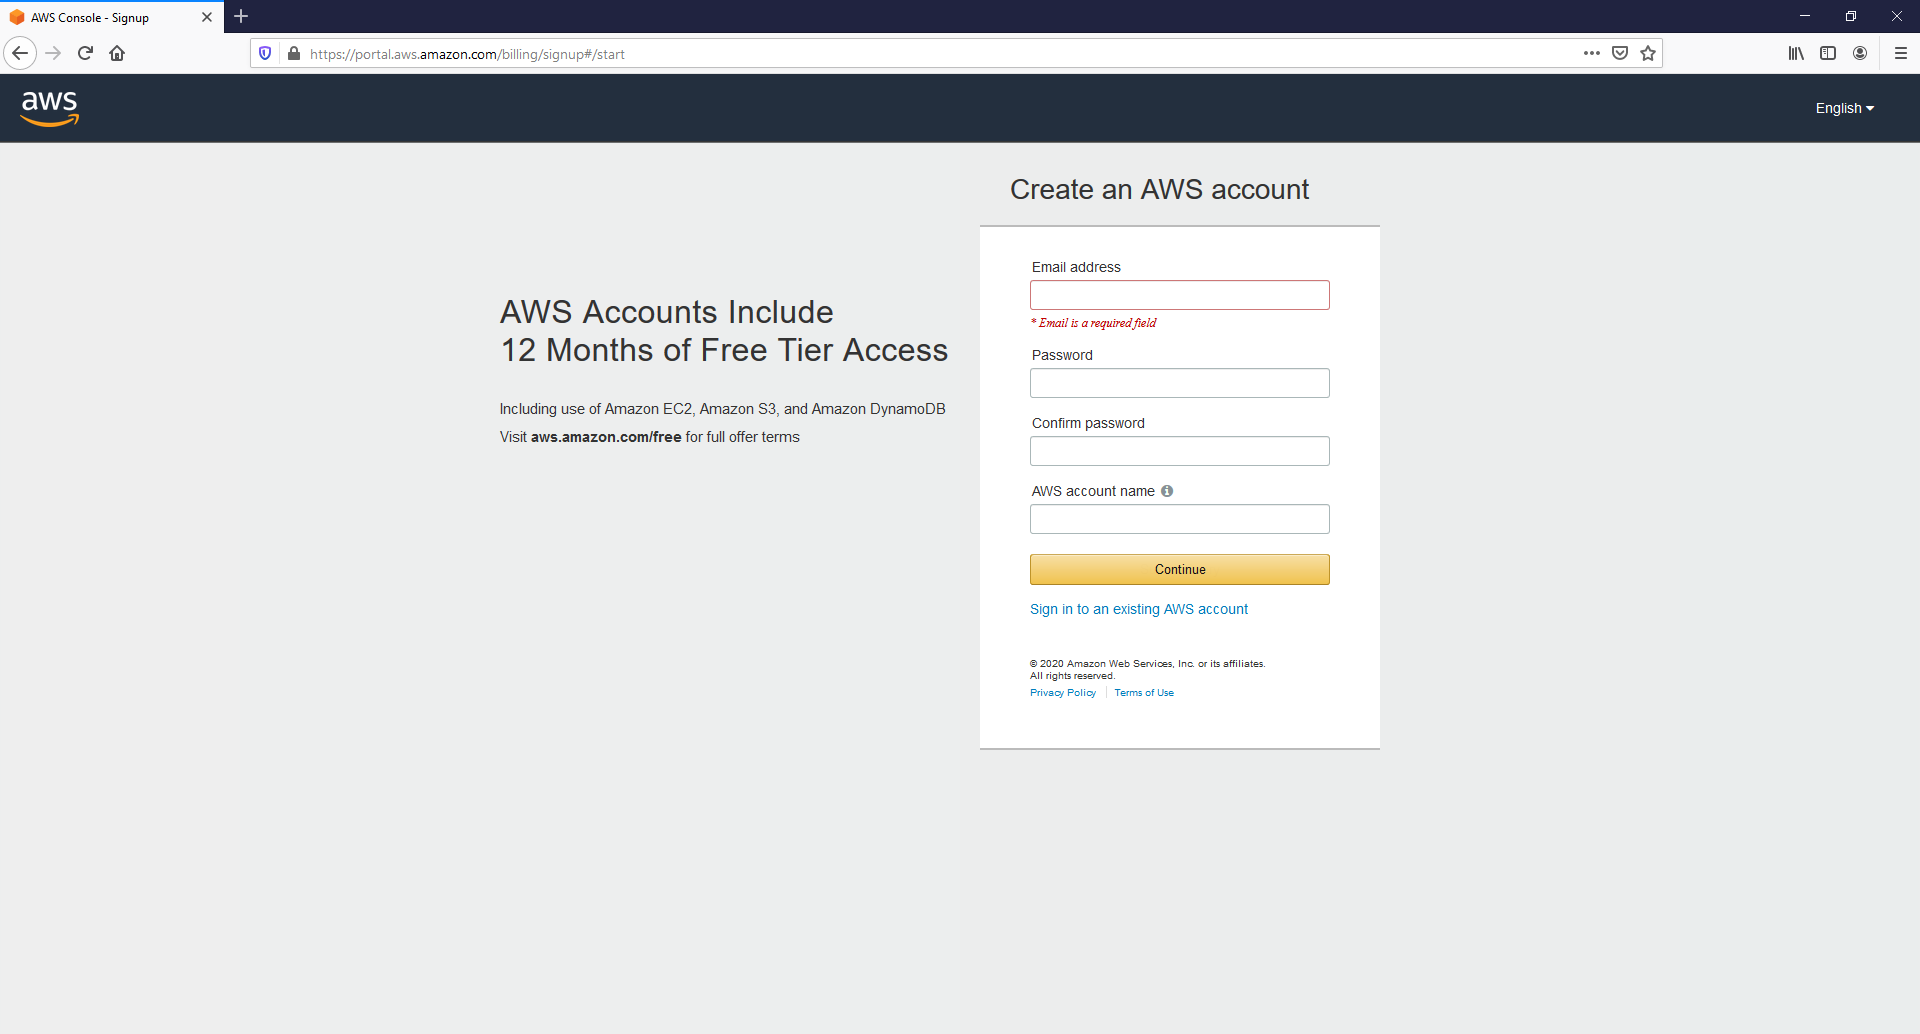
Step 1: Go to https://aws.amazon.com/ and create an account (Note: you need to enter your credit/debit card information)
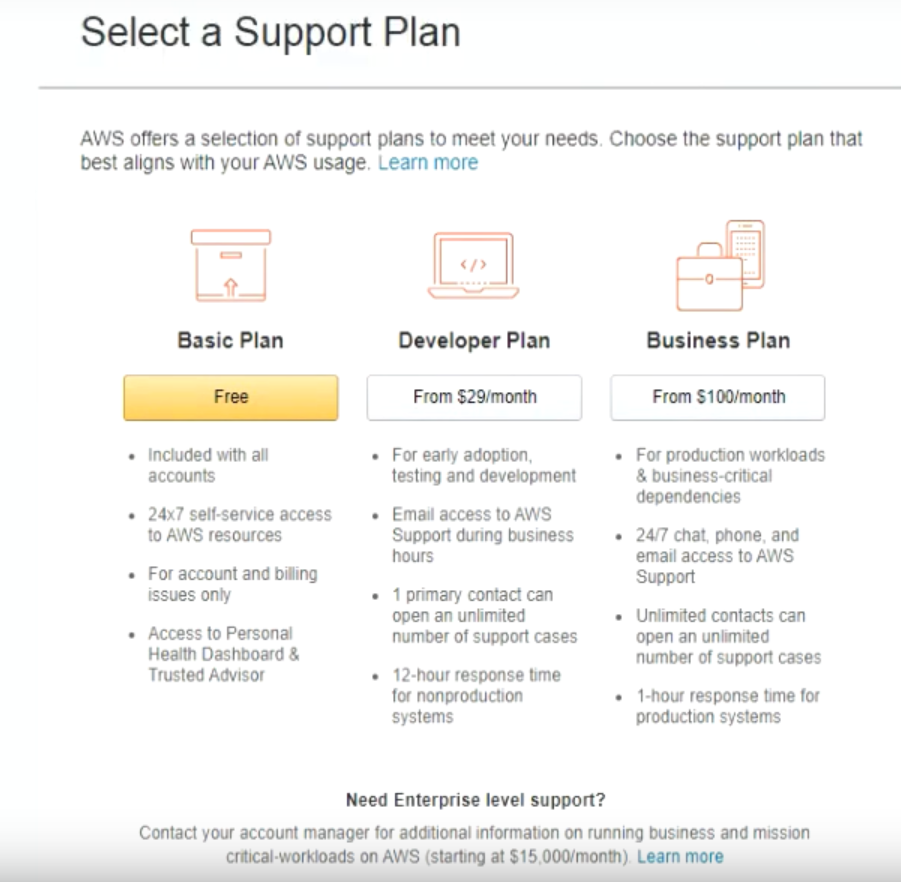
Step 2: Select the support plan as Basic plan
Step 3: Select your role and interest field to personalize your experience then sign in to the console
Step 4: Goto Sevices and select EC2 under compute
KNOW HOW: FREE ₹ 150 Amazon/Flipkart Vouchers Every Month – Grab Now!
Step 5: Then on “Step 1: Choose an Amazon Machine Image (AMI)” screen. Goto AWS marketplace and search: WordPress
Step 6: Then select “WordPress Certified by Bitnami and Automattic” and continue
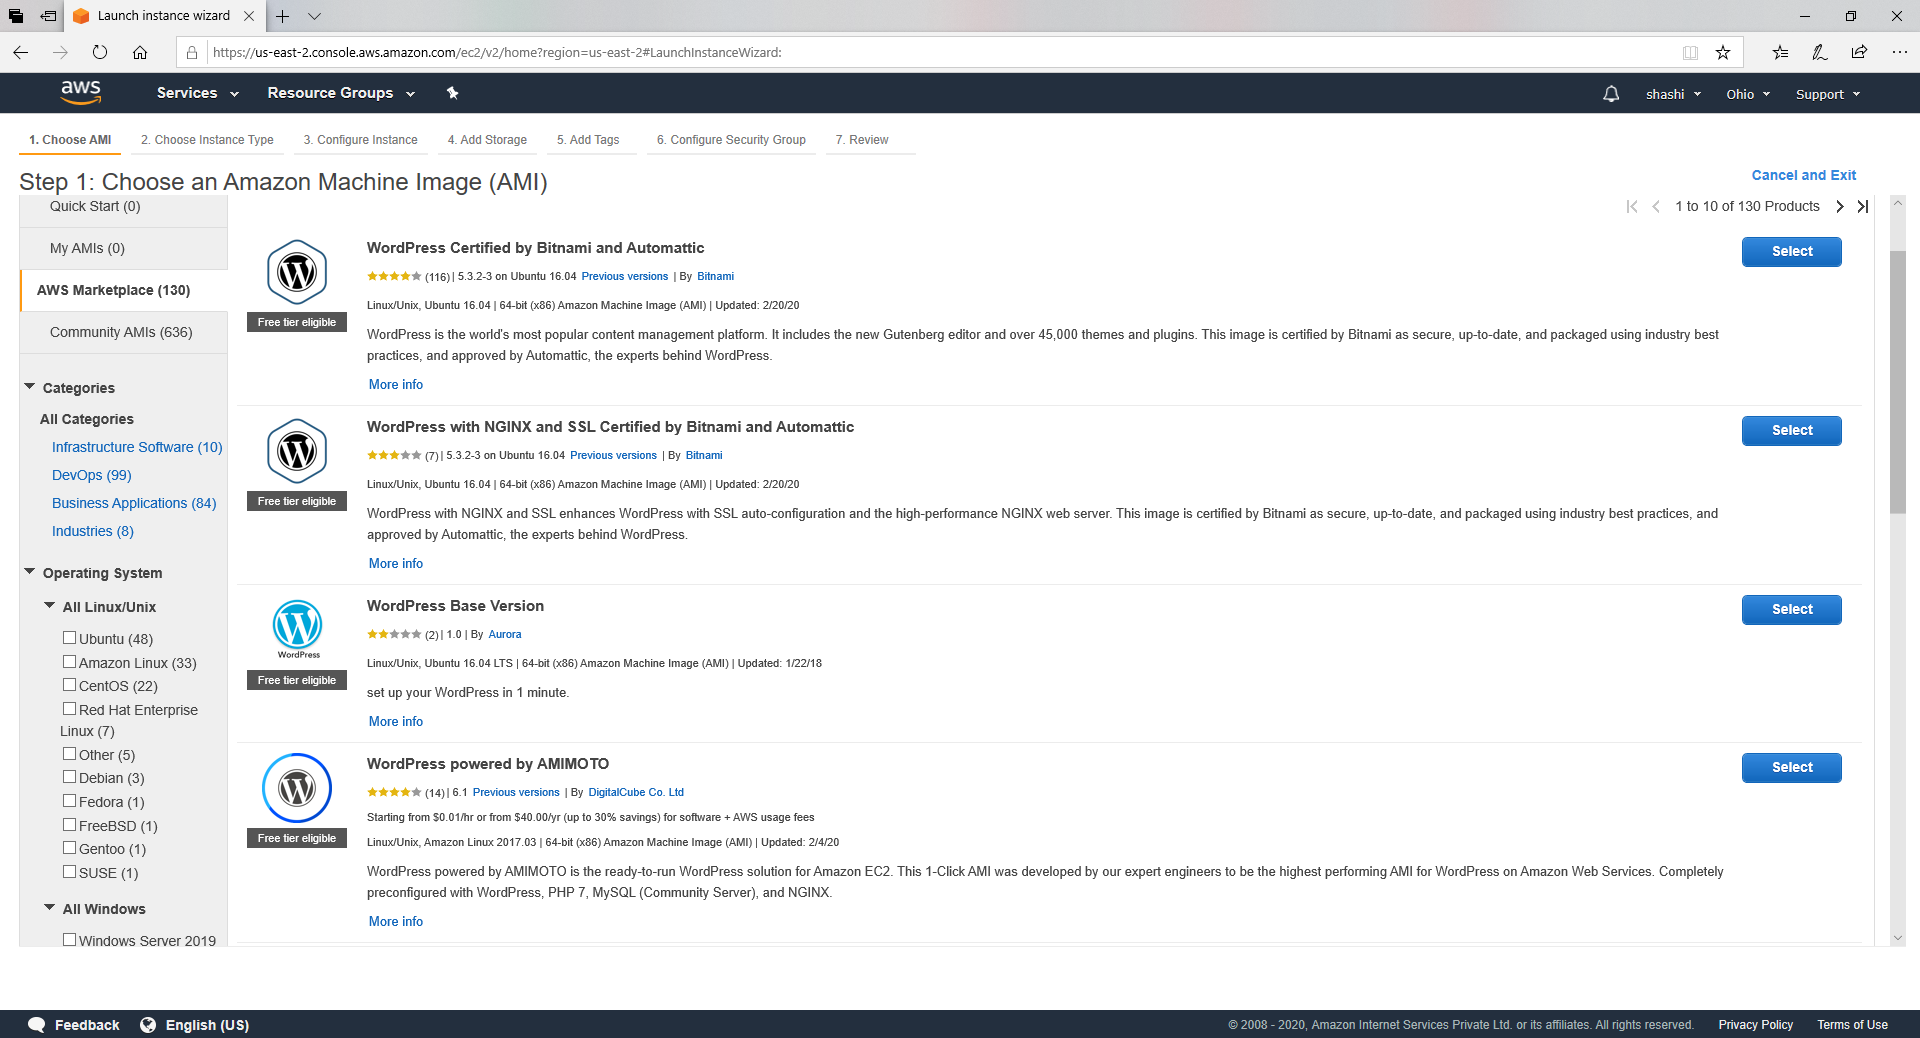
Step 7: Select the free tier eligible option and click on “Next: Configure Instance Details”
Step 8: Enable the Auto-assign Public IP from the dropdown
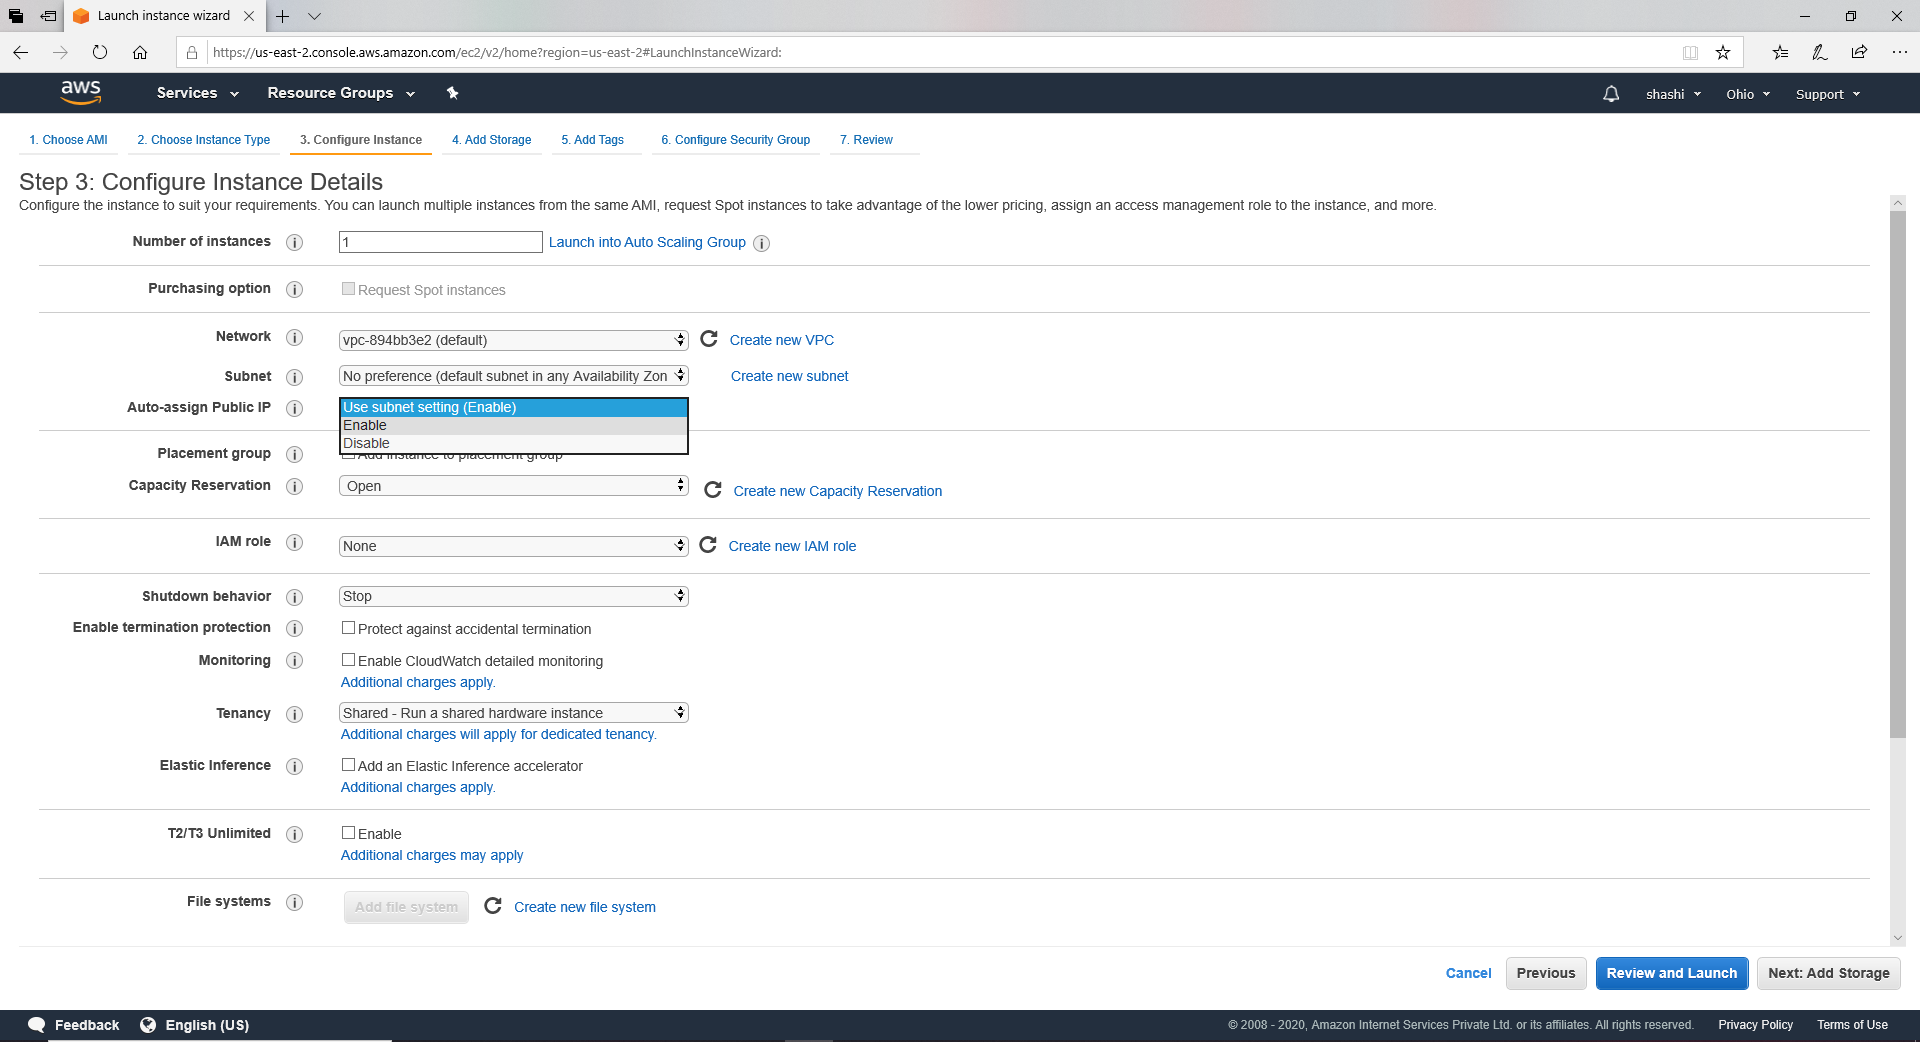
Step 9: Then click on “Review and launch” and then launch
Step 10: Then the last thing you need to do is to create an SSH key pair and download it(It helps to connect to your Linux machine remotely)
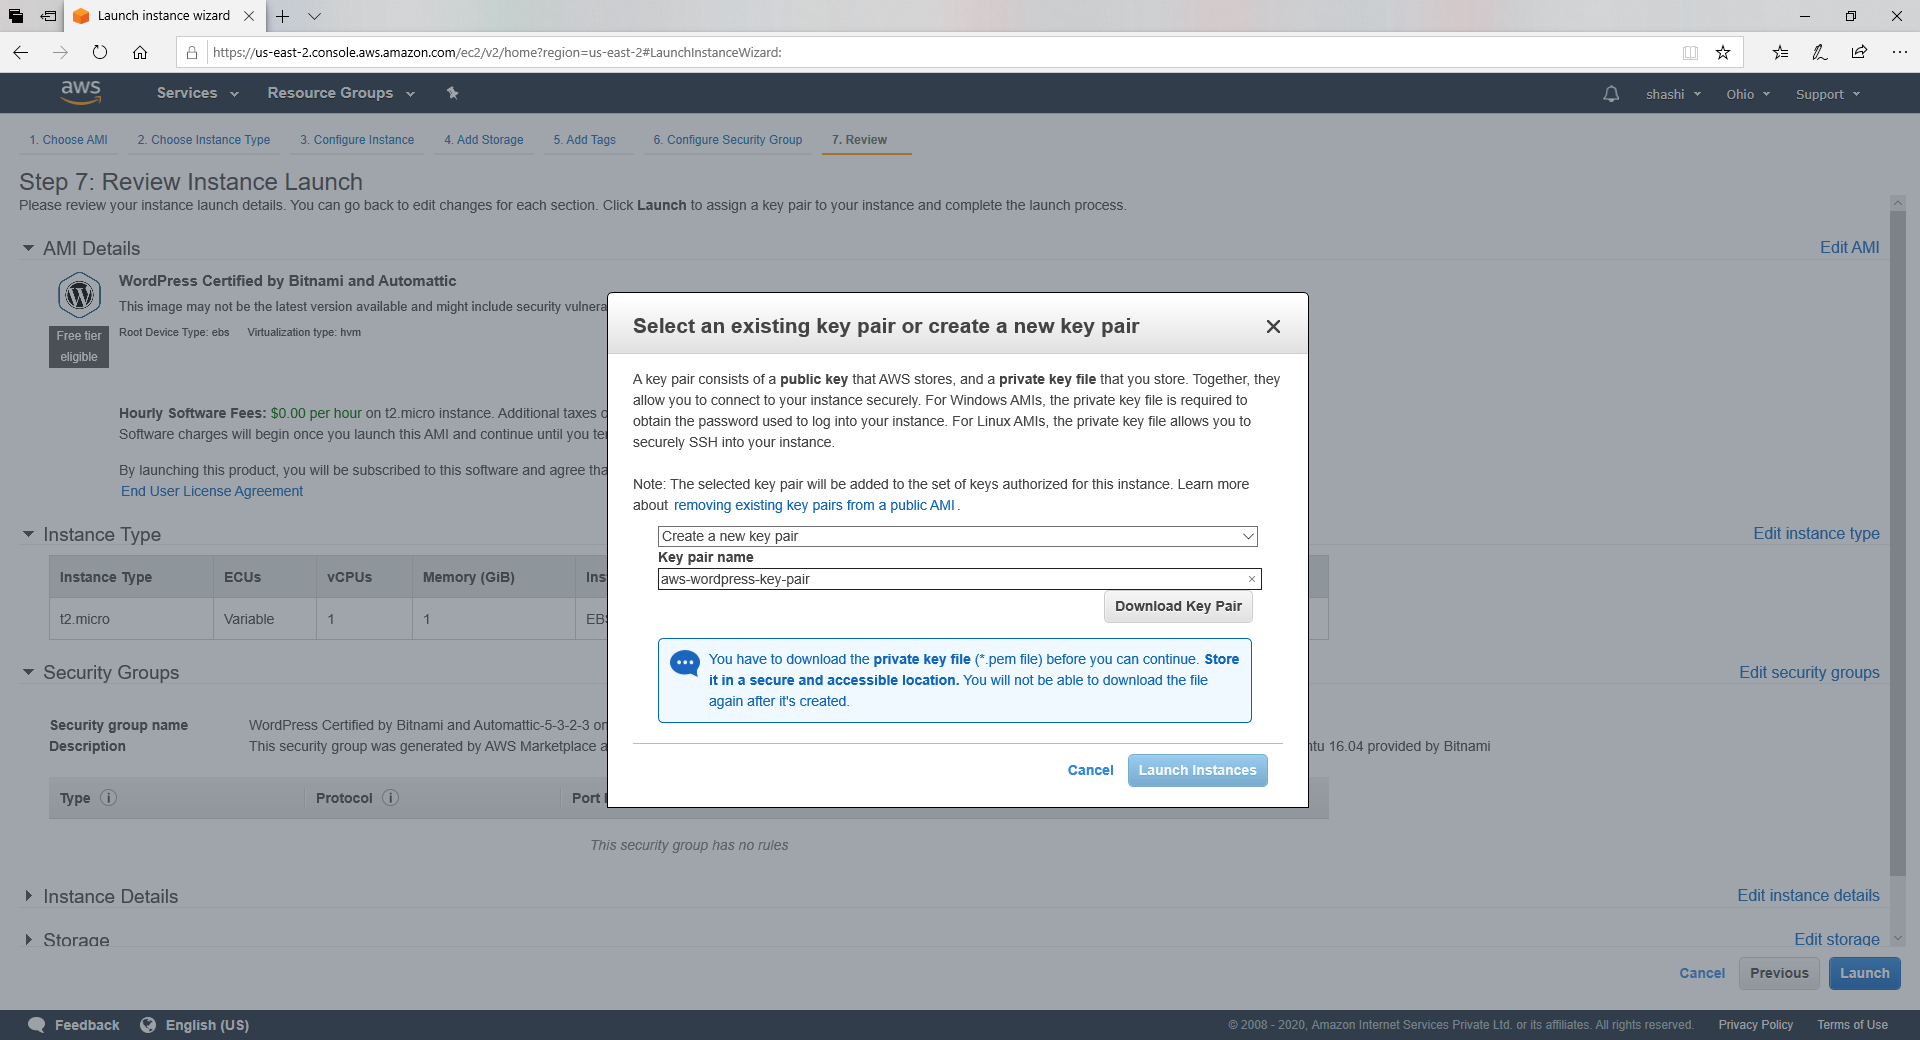
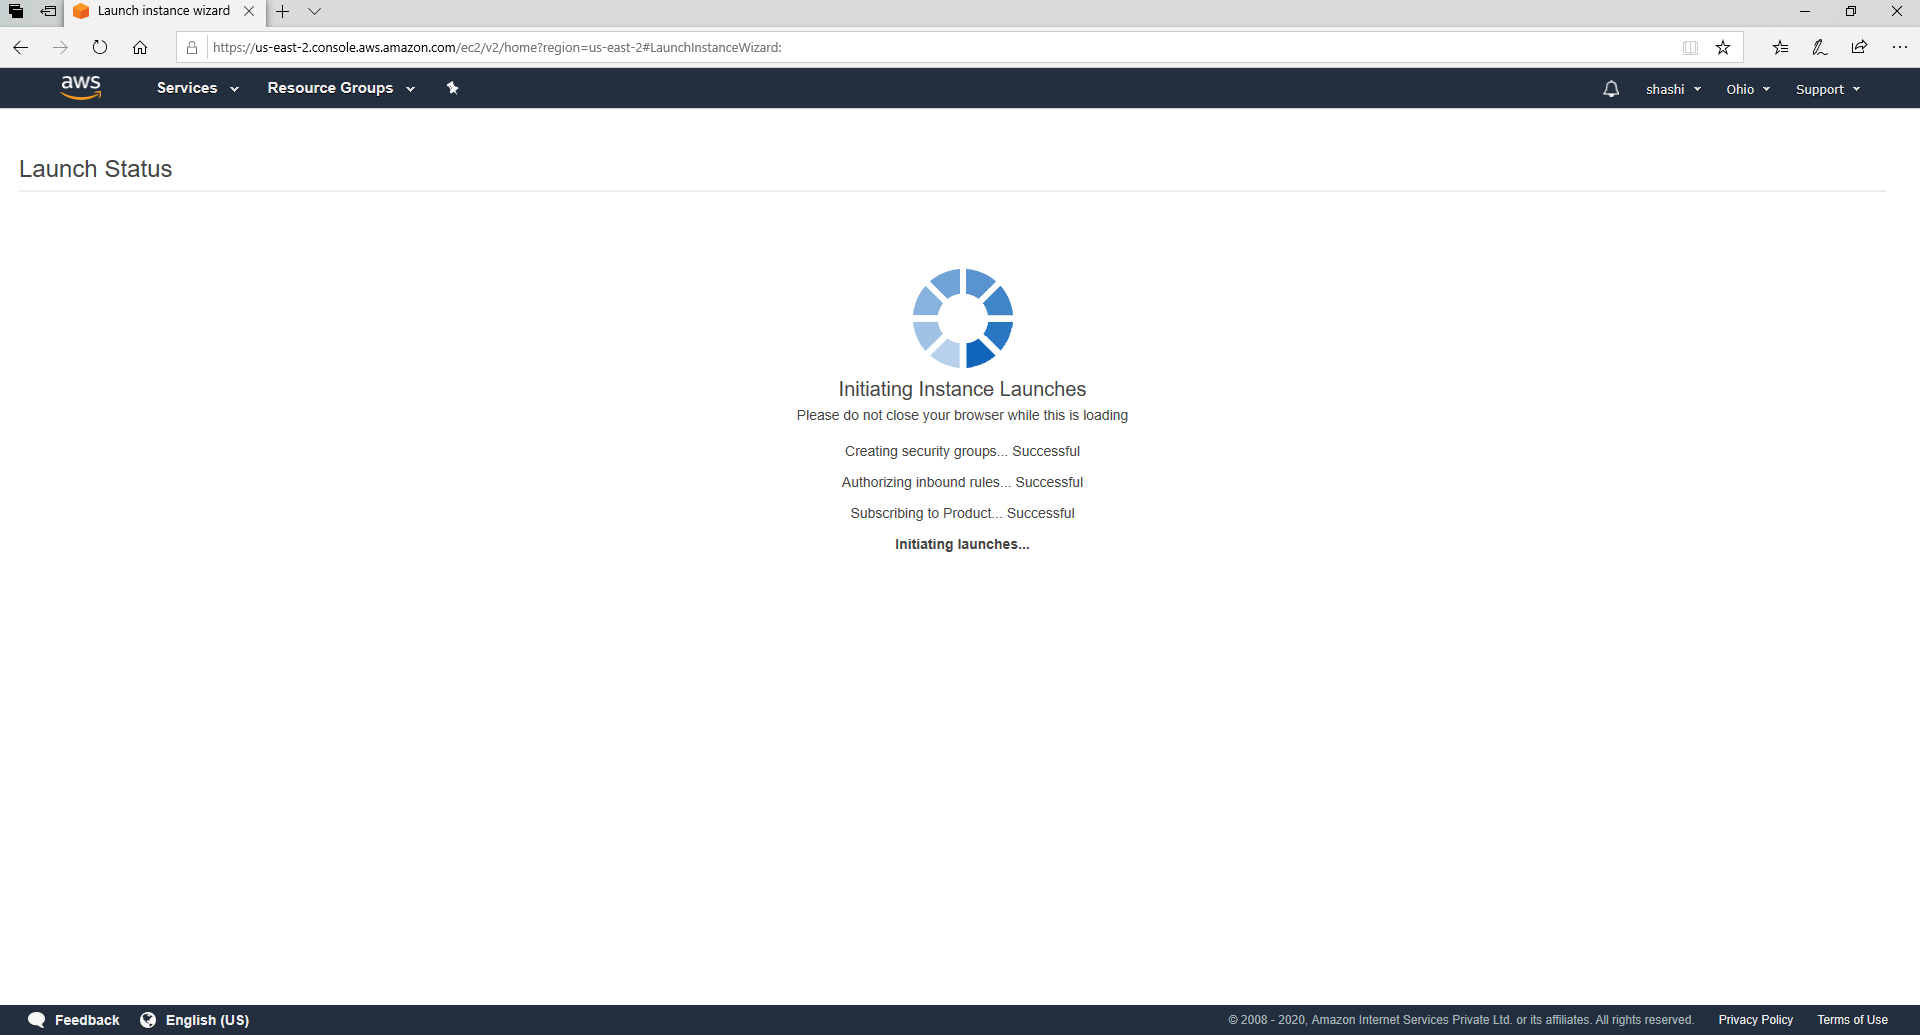
After downloading the SSH key pair click on launch instance. It will take a few minutes to launch the instance.
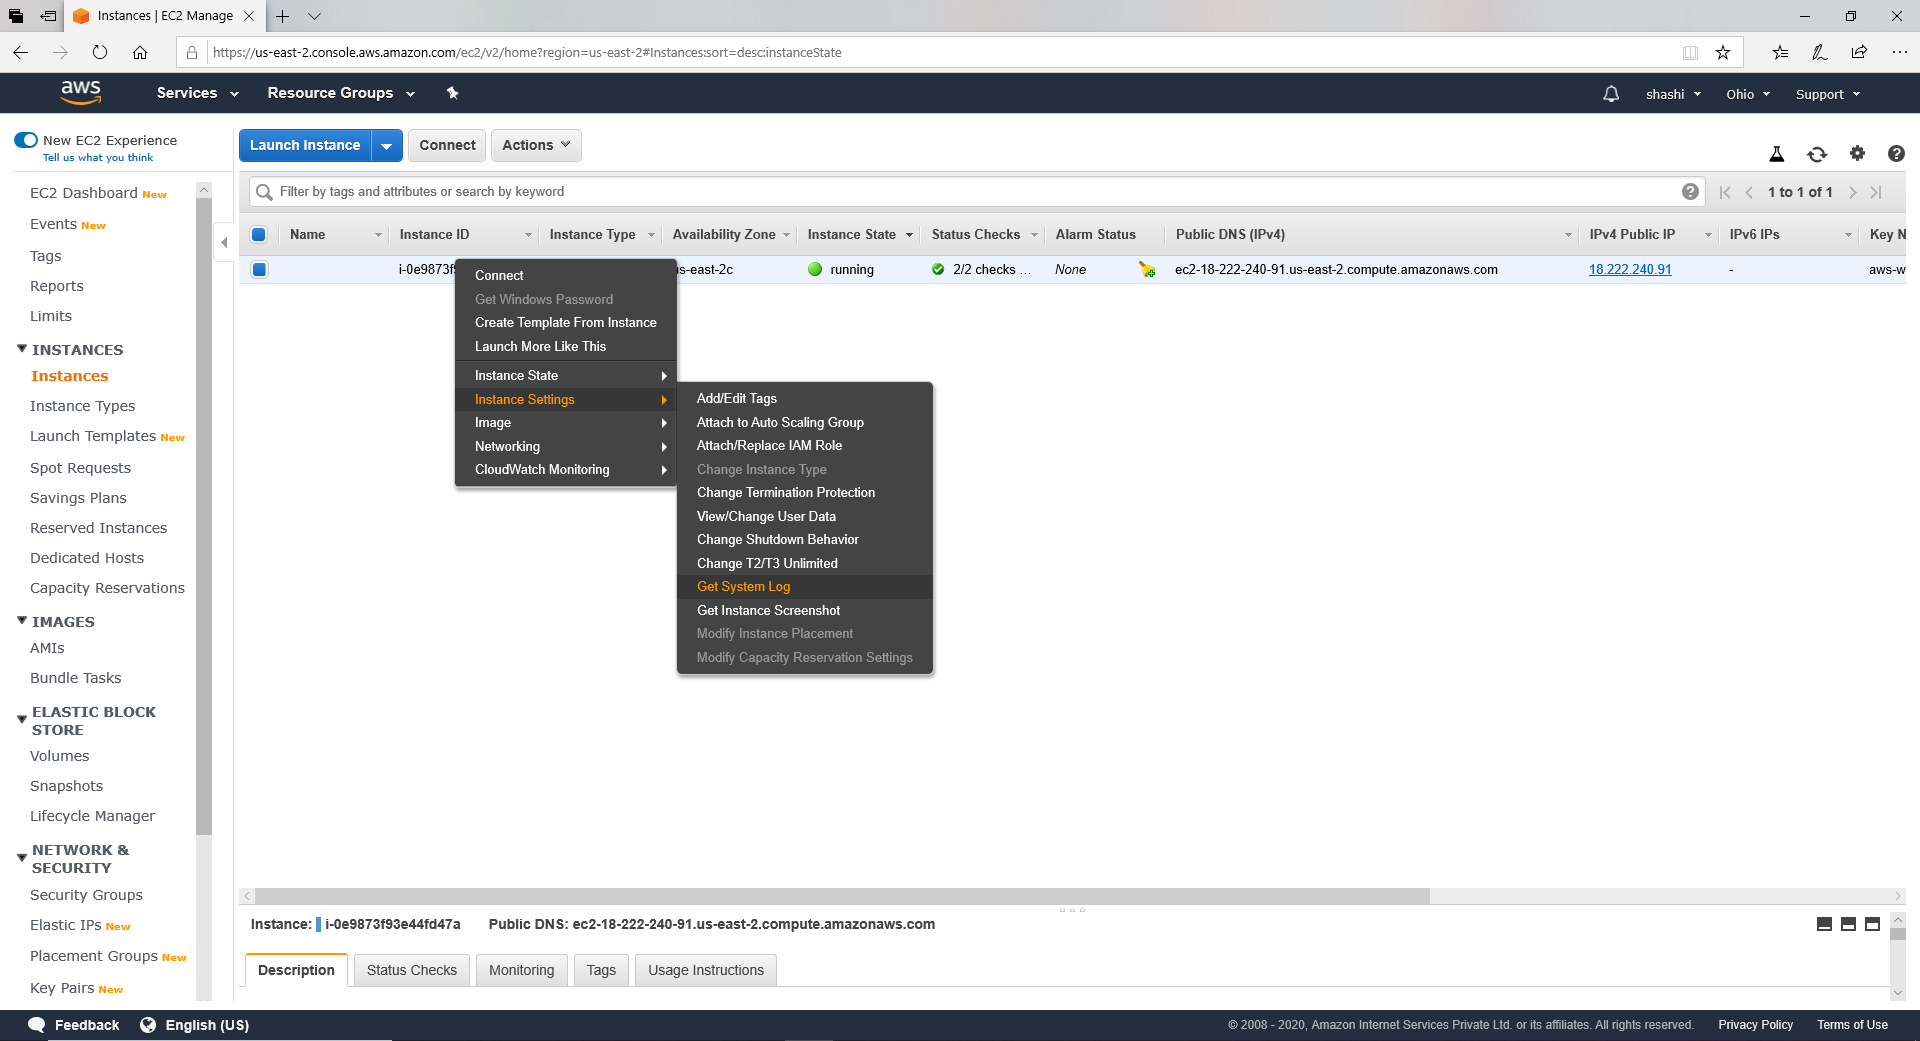
Goto services and EC2, now click instance from the sidebar column. Here you can see all your instances.
Must Read: Earn Money By Browsing Internet!
Now, the last thing you need is your application password. For doing that, right-click on your instance and select “Instance Settings” and then select “Get System Log”
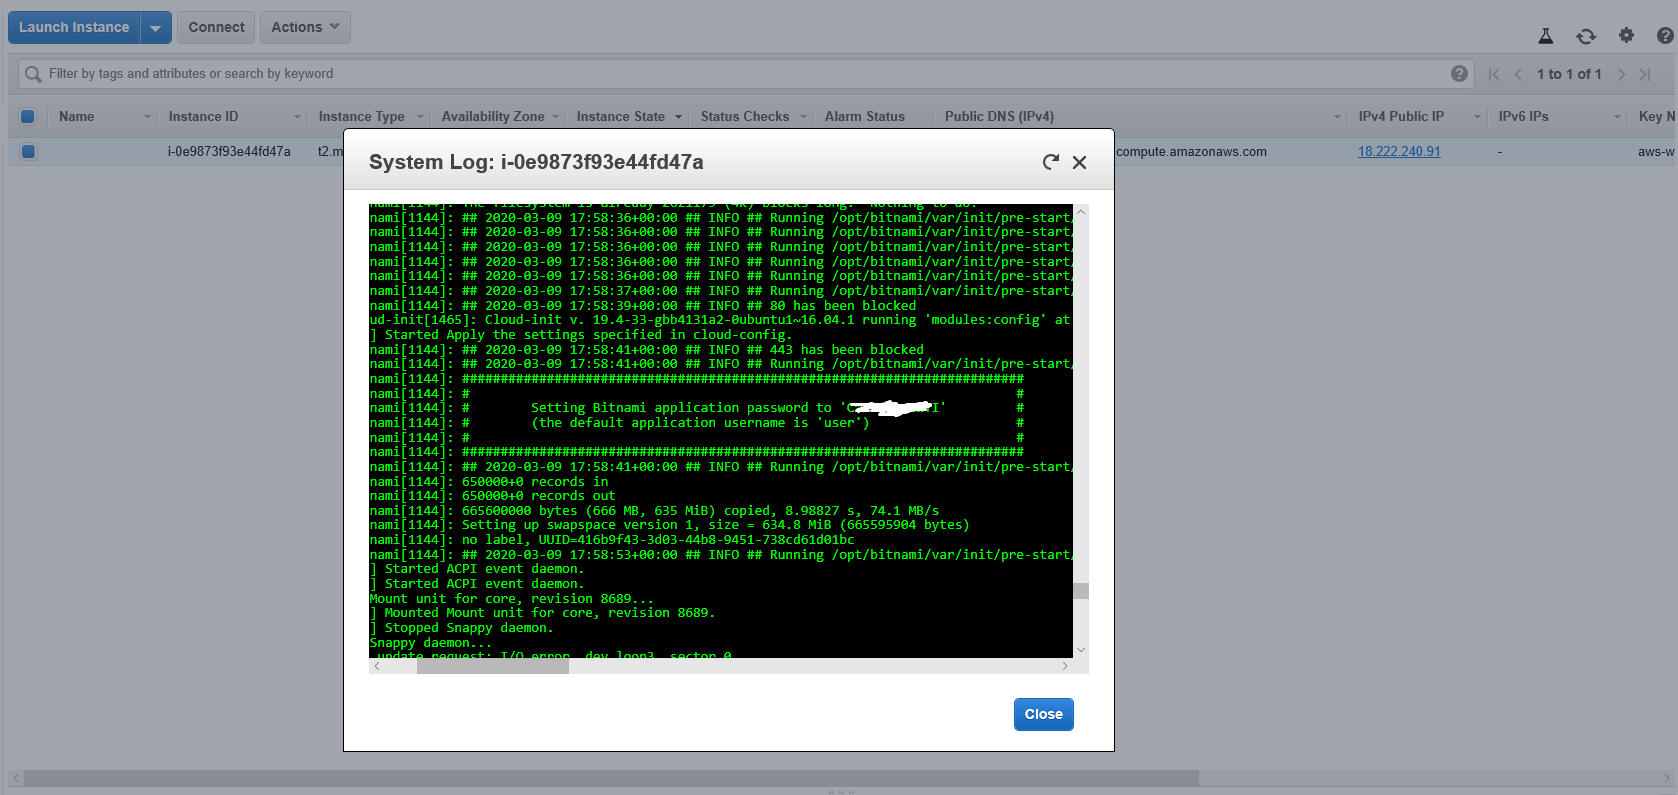
In the system log scroll down and find application password. Username is by default “user”. Copy the password and note it to any safe location.
Now Hurray!, Be happy. You just set up your WordPress blog on a 1-year free hosting plan.
You can check your site running by entering your public IP(Ipv4 Public IP) address in the browser. Your wp-admin username will be “user” and the password you just copied.
Further, You can connect your domain to this hosting to have more benefits.
Precautions
There are some which must be noted so that you don’t go beyond the free usage and pay.
- Transfer per month is limited to 15GB. Connect your site to Cloudflare to not cross this limit even after very high traffic.
- Don’t use it for setup consisting live audio or video sessions. As they suck very high quantity of bandwidth
- Manage your site assets well to optimize the space
- Any service going beyond the free limit will be charged
So, That’s all to set up a free hosting plan for 1 year. Please comment below for any clarification or help.
You can also write us through the contact us page to have any assistance.
Must Check: Browse Internet And Earn Money | Brave Browser